微信公众号:OpenCV学堂
关注获取更多计算机视觉与深度学习知识
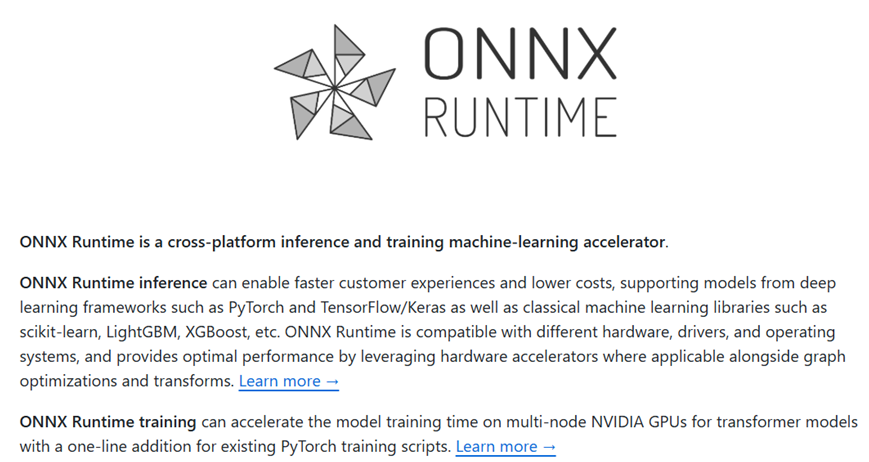
ONNXRUNTIME介绍
ONNXRUNTIME是微软开源的深度学习跨平台的推理与加速部署框架,支持CNN、VIT、CLIP、GenAI等模型推理与部署。官方的说明如下:
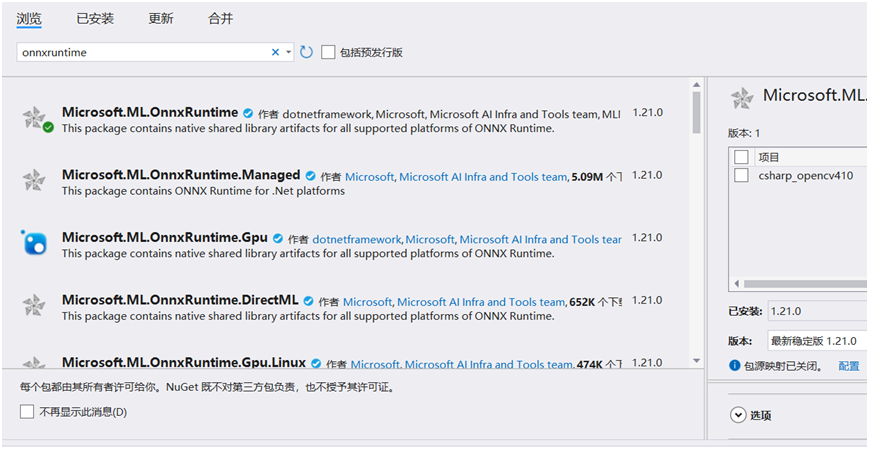
安装与配置
在VS2022中安装非常简单,直接通过IDE安装即可:
命令行安装方式如下:
dotnet add package Microsoft.ML.OnnxRuntime --version 1.16.0dotnet add package System.Numerics.Tensors --version 0.1.0
SDK与推理流程
创建推理会话与GPU支持
int gpuDeviceId = 0; // The GPU device ID to execute onusing var gpuSessionOptoins = SessionOptions.MakeSessionOptionWithCudaProvider(gpuDeviceId);using var session = new InferenceSession("model.onnx", gpuSessionOptoins);
CPU推理会话
using InferenceSession session = new InferenceSession(modelBPath);创建输入数据
float[] inputData = { 1, 2, 3, 4 };long[] inputShape = { 1, 4 };using var inputOrtValue = OrtValue.CreateTensorValueFromMemory(inputData, inputShape);
模型推理
using var runOptions = new RunOptions();var outputs1 = session.Run(runOptions, inputs1, session1.OutputNames)
推理后处理
// get intermediate valuevar outputToFeed = outputs1.First();// modify the name of the ONNX value// create input list for session2var inputs2 = new Dictionary{{ "inputNameForModelB", outputToFeed }};
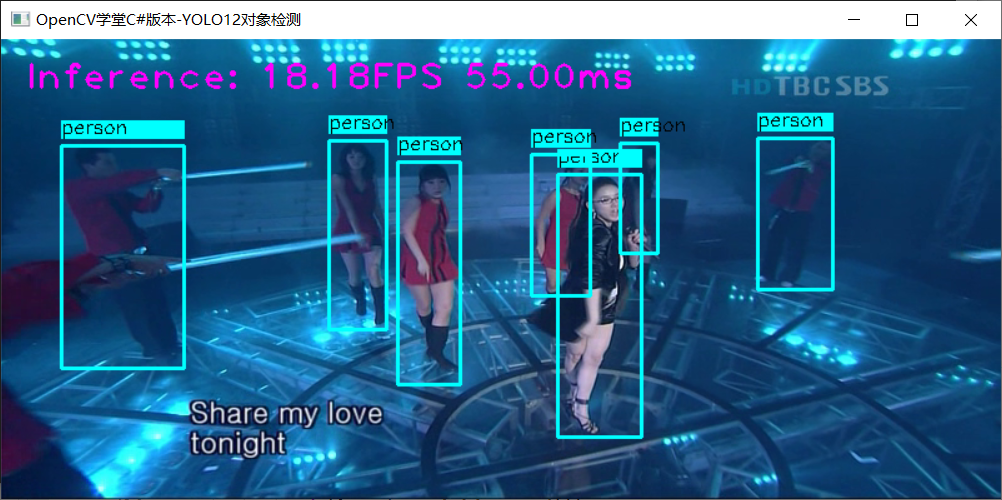
代码演示
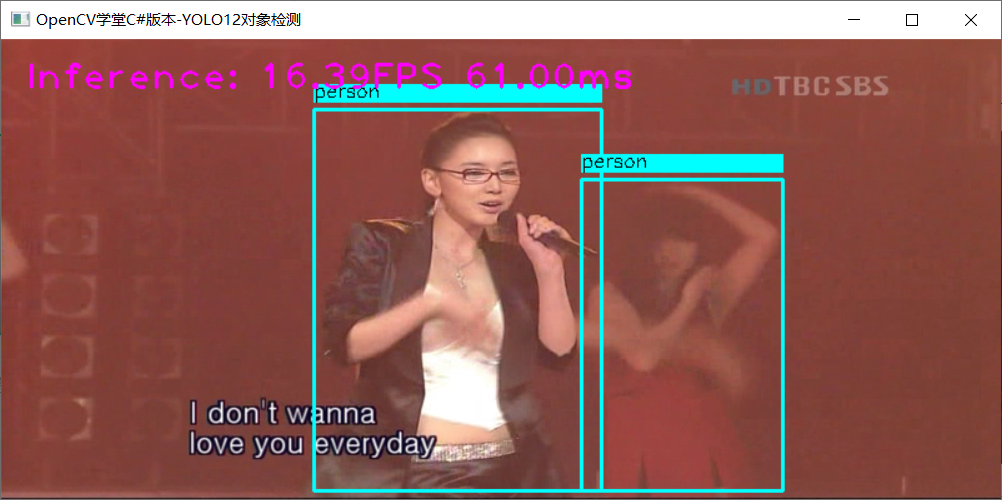
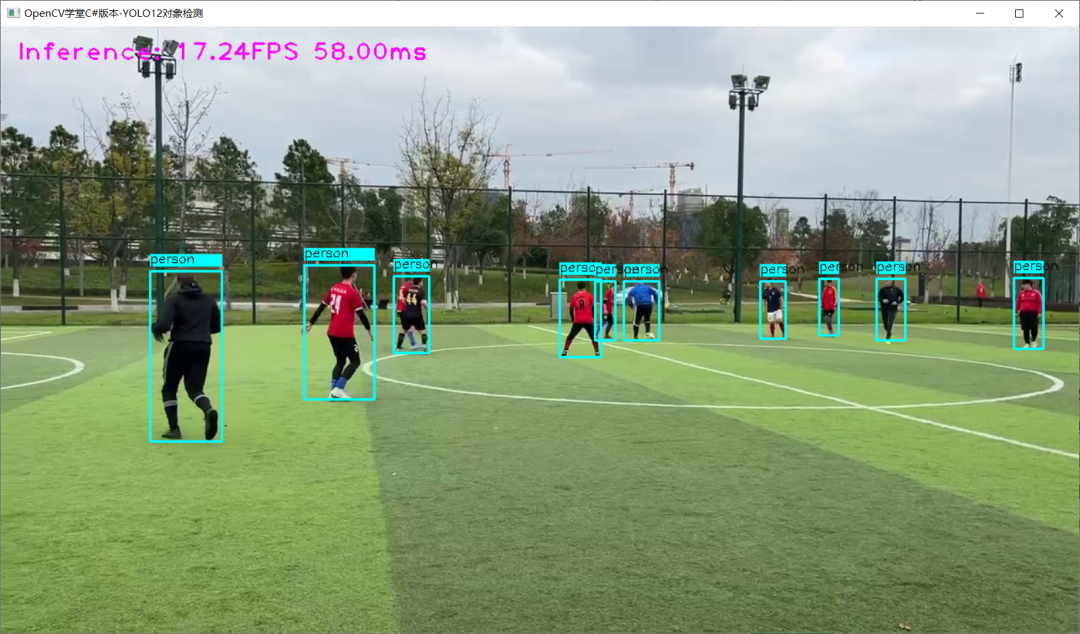
基于YOLO12对象检测的ONNXRUNTIME的C#版本推理演示测试代码如下:
// Setup inputsvar inputs = new List{NamedOnnxValue.CreateFromTensor("images", input)};var outputs = session_run.Run(inputs);// from data array to create opencv mat objectvar rows = outputs.First().AsEnumerable<float>().ToArray();List<int> classIds = new List<int>();List<float> confidences = new List<float>();Listboxes = new List (); double xFactor = img_w / 640.0;double yFactor = img_h / 640.0;for (int r = 0; r < rows.Rows; r++){Mat row = rows.Row(r);//Console.WriteLine("row width: " + row.Rows);Mat classesScores = new Mat();Rect roi = new Rect(4, 0, 80, 1);row[roi].CopyTo(classesScores);double minv = 0, maxv = 0;Point minLoc = new Point(0, 0);Point maxLoc = new Point(0, 0);Cv2.MinMaxLoc(classesScores, out minv, out maxv, out minLoc, out maxLoc);int classId = maxLoc.X;if (classesScores.At<float>(0, classId) > 0.25){confidences.Add(classesScores.At<float>(0, classId));classIds.Add(classId);float cx = row.At<float>(0, 0);float cy = row.At<float>(0, 1);float w = row.At<float>(0, 2);float h = row.At<float>(0, 3);int left = (int)((cx - 0.5 * w) * xFactor);int top = (int)((cy - 0.5 * h) * yFactor);int width = (int)(w * xFactor);int height = (int)(h * yFactor);boxes.Add(new Rect(left, top, width, height));}}// Non-maximum suppressionint[] indexes;CvDnn.NMSBoxes(boxes, confidences, 0.25f, 0.45f, out indexes);foreach (int index in indexes){Rect box = boxes[index];var color = colors[(classIds[index] % colors.Count)];Cv2.Rectangle(frame, box, new Scalar(color.Item1, color.Item2, color.Item3), 2);Cv2.Rectangle(frame, new Rect(box.X, box.Y - 20, box.Width, 15), new Scalar(color.Item1, color.Item2, color.Item3), -1);Cv2.PutText(frame, classList[classIds[index]], new Point(box.X, box.Y - 10), HersheyFonts.HersheySimplex, 0.5, new Scalar(0, 0, 0));}sw.Stop();total_infs[0] = sw.ElapsedMilliseconds;Cv2.PutText(frame, "Inference: " + (1000.0 / total_infs[0]).ToString("0.00") + "FPS " + (total_infs[0]).ToString("0.00") + "ms", new OpenCvSharp.Point(20, 40), HersheyFonts.HersheyPlain, 2, new Scalar(255, 0, 255), 2);// Show the frameCv2.ImShow("OpenCV学堂C#版本-YOLO12对象检测 ", frame);if (Cv2.WaitKey(1) == 27) break;
CPU推理速度:
OpenCV4系统化学习

推荐阅读
OpenCV4.8+YOLOv8对象检测C++推理演示
ZXING+OpenCV打造开源条码检测应用
攻略 | 学习深度学习只需要三个月的好方法
三行代码实现 TensorRT8.6 C++ 深度学习模型部署
实战 | YOLOv8+OpenCV 实现DM码定位检测与解析
对象检测边界框损失 – 从IOU到ProbIOU
初学者必看 | 学习深度学习的五个误区