https://awtk.zlg.cn/web/index.html
这里假设应用程序的名称为 AwtkApplicationJSHttp,后面会用到,如果使用其它名称,后面要做相应修改。

2. 编写代码
2.1 删除 src 目录下全部文件(留着也可以,只是看起来比较乱),在 src 目录创建 js 目录。
function applicationInit() {home_page_open();}applicationInit()
2.2 添加事件处理函数。可以参考下面的代码:
async function on_update_clicked(evt) {var e = TPointerEvent.cast(evt);var widget = TButton.cast(e.target);const win = widget.getWindow();const url = "http://localhost:8080/AwtkApplicationJSHttp/res/assets/default/raw/data/weather.json";try {const response = await fetch(url);if (!response.ok) {throw new Error("Network response was not ok " + response.statusText);}const json = await response.json();win.setChildText("city", json.cityInfo.city);win.setChildText("wendu", json.data.wendu);win.setChildText("ganmao", json.data.ganmao);win.setChildText("quality", json.data.quality);win.setChildText("shidu", json.data.shidu);win.setChildTextWithDouble("pm25", "%.0f", json.data.pm25);} catch (error) {console.error("There was a problem with the fetch operation:", error);}}function home_page_open() {var win = TWindow.open("home_page");var update = win.lookup("update", true);update.on(TEventType.CLICK, on_update_clicked);win.layout();}
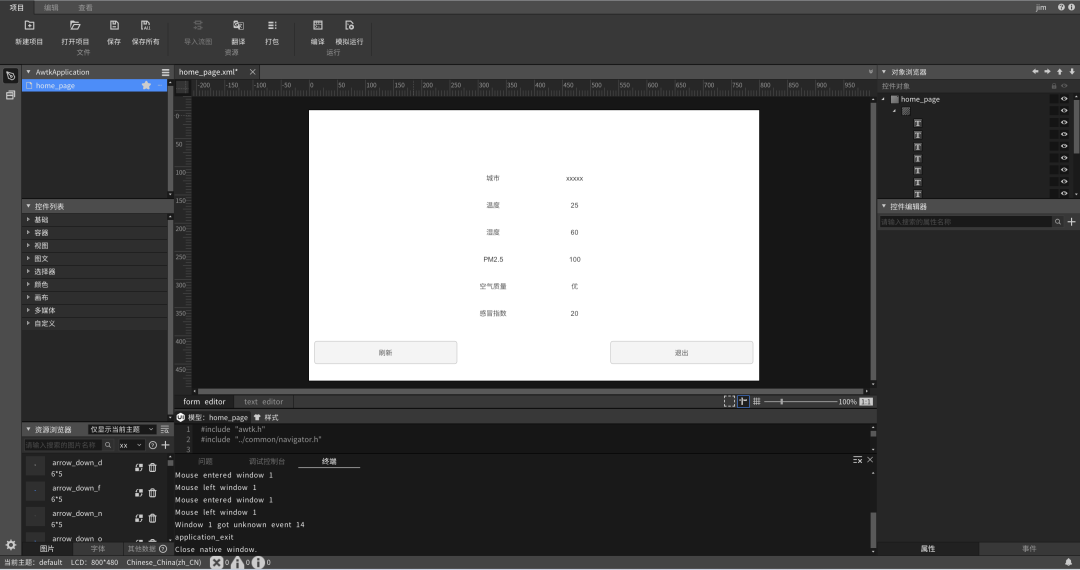
注意:控件的名称一定要和 home_page.xml 保持一致。
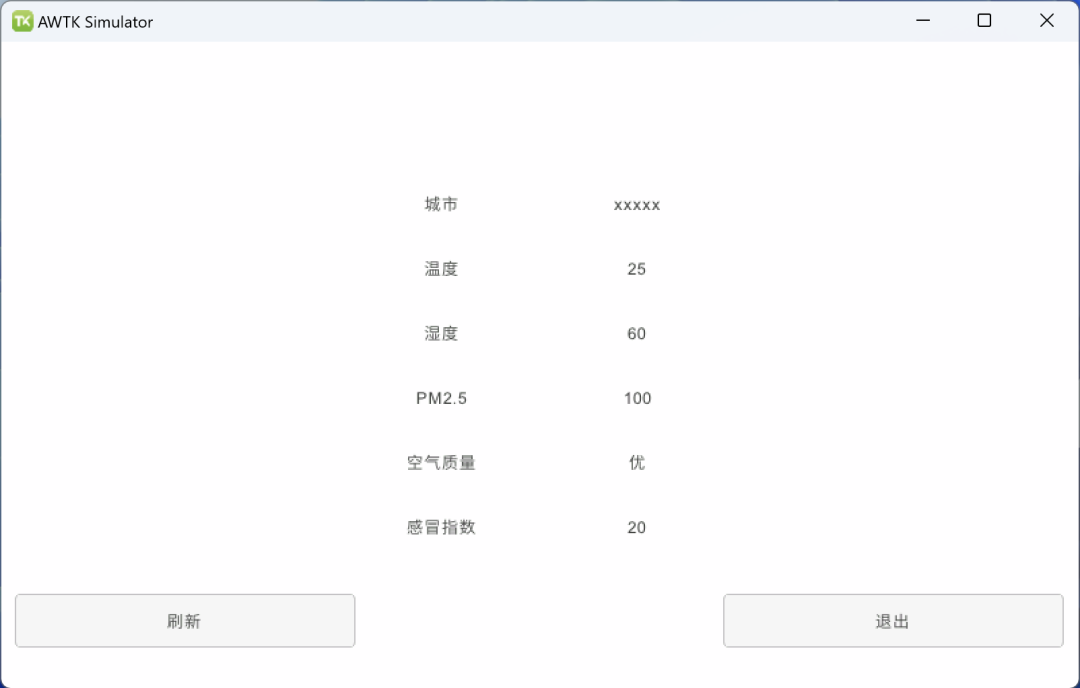
3. 在 AWTK Designer 中,执行“打包” “编译” “模拟运行”


https://github.com/zlgopen/awtk/blob/master/docs/build_config.md
这里给出一个例子,可以在此基础上进行修改,该文件位于:
{"name": "AwtkApplicationJSHttp","version": "1.0","app_type":"js","author": "xianjimli@hotmail.com","copyright": "Guangzhou ZHIYUAN Electronics Co.,Ltd.","themes":["default"],"sources": ["src/js/*.js"]}
./build_win32.sh examples/AwtkApplicationJSHttp/build.json release./build_linux.sh examples/AwtkApplicationJSHttp/build.json release./build_mac.sh examples/AwtkApplicationJSHttp/build.json release请根据应用程序所在目录,修改配置文件的路径。
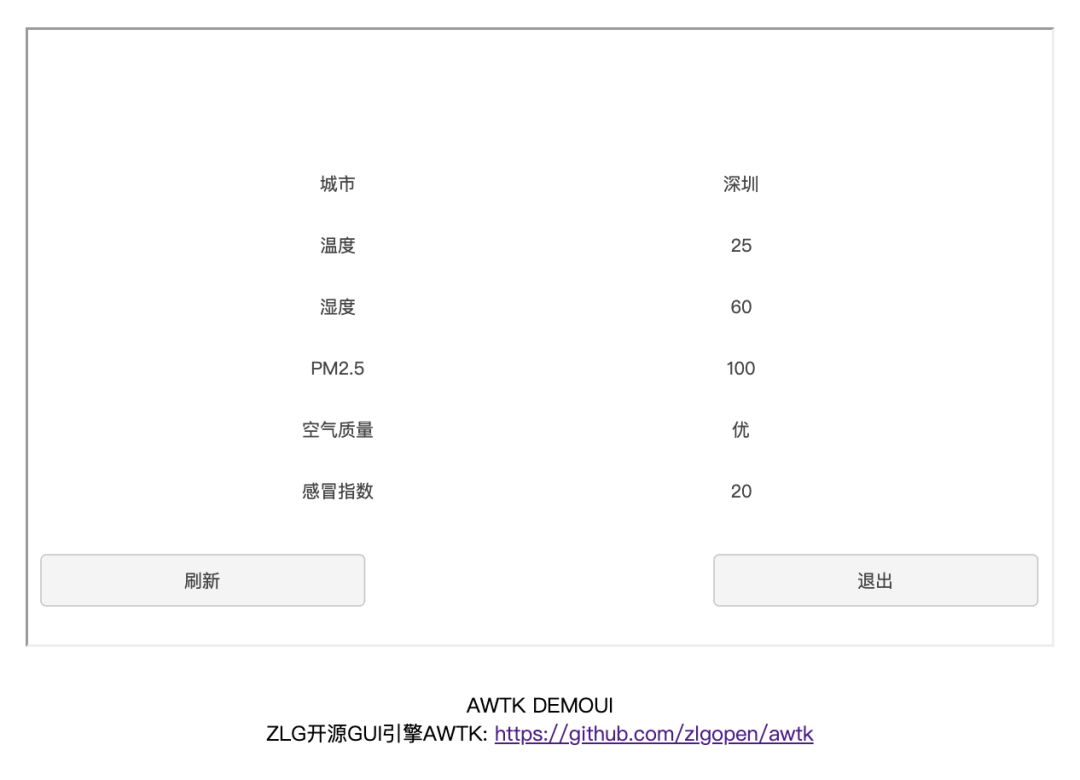
./start_web.shstart_web_debug.sh3. 用浏览器打开 URL:http://localhost:8080/AwtkApplicationJSHttp

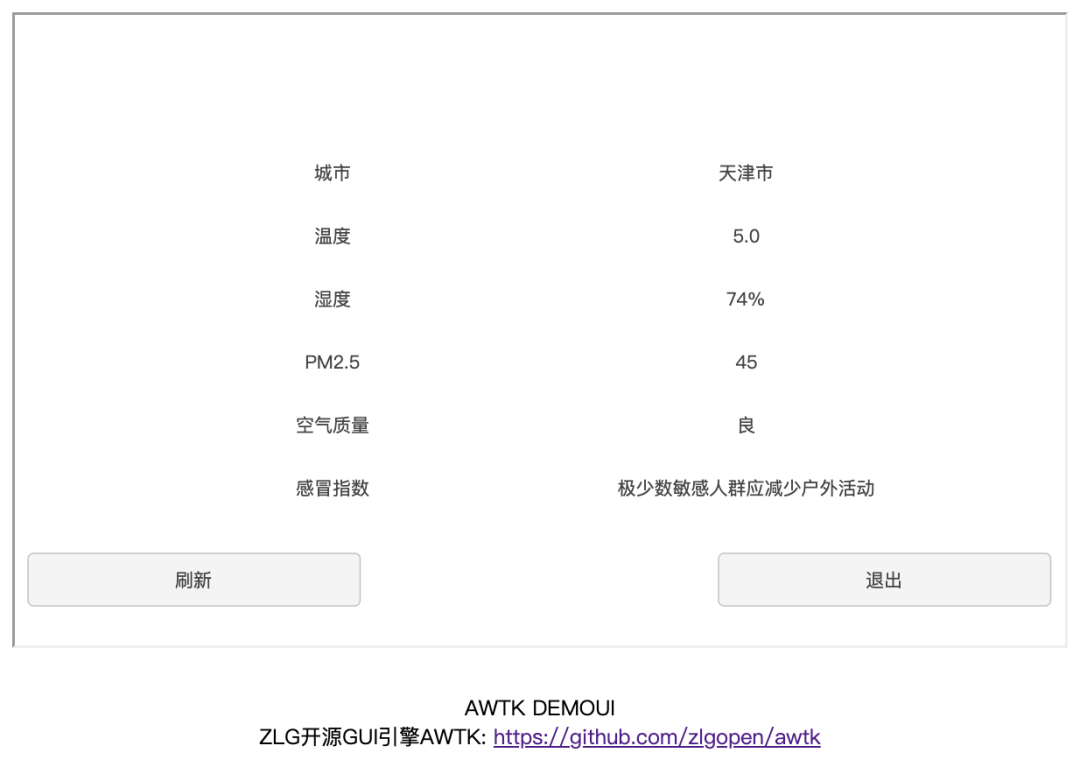
点击 “更新” 按钮,可以看到数据更新。


