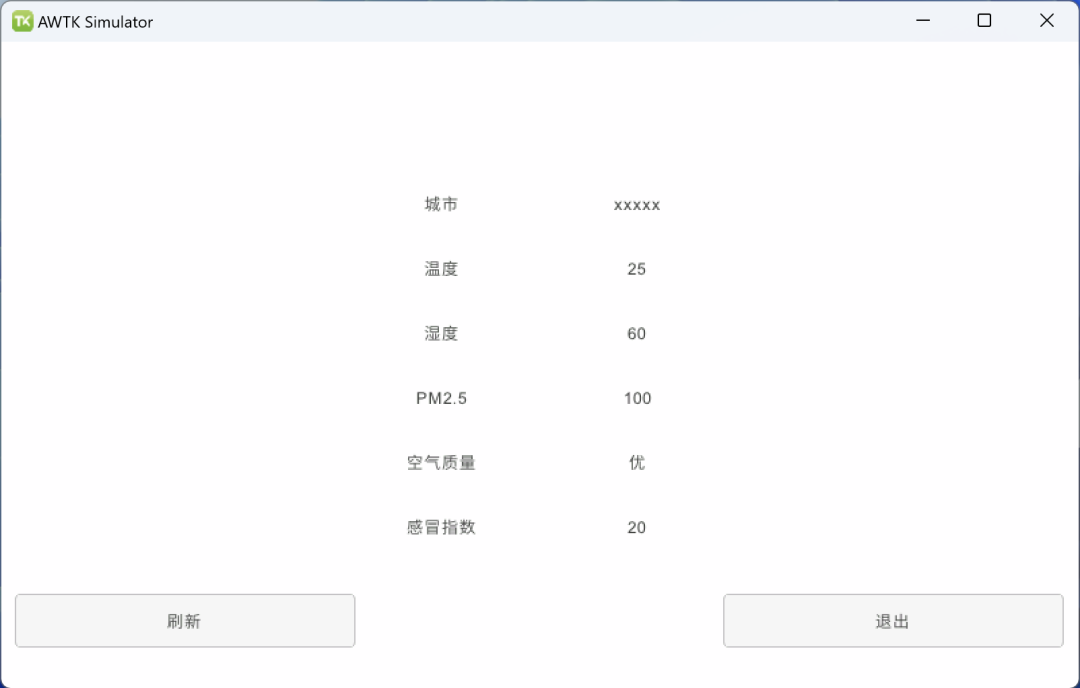
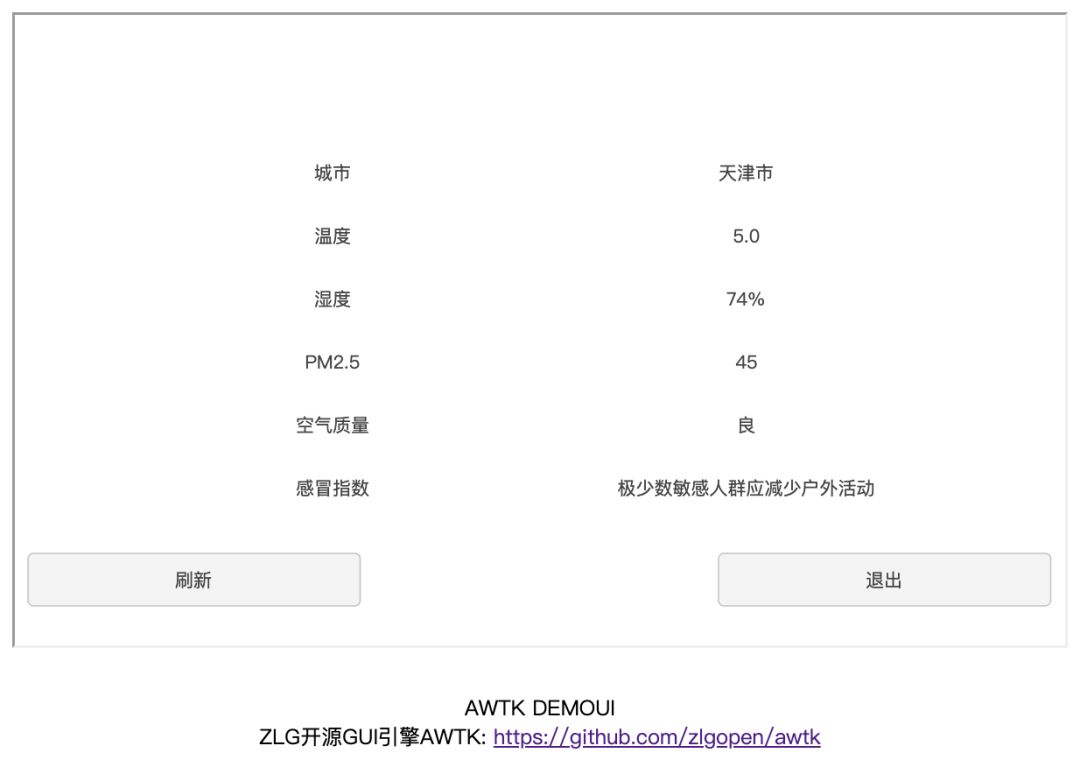
https://awtk.zlg.cn/web/index.html
这里假设应用程序的名称为 AwtkApplicationCHttp,后面会用到,如果使用其它名称,后面要做相应修改。

2. 编写代码
2.1 用VSCode打开目录AwtkApplicationCHttp,并打开文件src/pages/home_page.c。
使用其它文本编辑器或 IDE 也可以,推荐使用 VSCode,并开启 Copilot,将大幅提升开发效率。
2.2 添加事件处理函数。可以参考下面的代码:
// C 函数,用于处理接收到的数据void home_page_on_fetch_data(void* ctx, const char* data, uint32_t data_size) {widget_t* win = WIDGET(ctx);conf_doc_t* doc = conf_doc_load_json(data, data_size);if (doc != NULL) {const char* city = conf_doc_get_str(doc, "cityInfo.city", "unknown");const char* shidu = conf_doc_get_str(doc, "data.shidu", "unknown");const char* wendu = conf_doc_get_str(doc, "data.wendu", "unknown");const char* quality = conf_doc_get_str(doc, "data.quality", "unknown");const char* ganmao = conf_doc_get_str(doc, "data.ganmao", "unknown");double pm25 = conf_doc_get_float(doc, "data.pm25", 0);widget_set_child_text_utf8(win, "city", city);widget_set_child_text_utf8(win, "shidu", shidu);widget_set_child_text_utf8(win, "wendu", wendu);widget_set_child_text_utf8(win, "quality", quality);widget_set_child_text_utf8(win, "ganmao", ganmao);widget_set_child_text_with_double(win, "pm25", "%.0f", pm25);conf_doc_destroy(doc);}printf("Received data (%d bytes): %s\n", data_size, data);}// C 函数,用于处理错误void home_page_on_fetch_error(void* ctx, const char* error_message) {printf("Error: %s\n", error_message);}static ret_t on_update(void* ctx, event_t* e) {widget_t* win = WIDGET(ctx);const char* url = "http://localhost:8080/AwtkApplicationCHttp/res/assets/default/raw/data/weather.json";return_value_if_fail(win != NULL, RET_BAD_PARAMS);fetch_data(win, "GET", url, home_page_on_fetch_data, home_page_on_fetch_error, NULL);return RET_OK;}/*** 初始化窗口*/ret_t home_page_init(widget_t* win, void* ctx) {(void)ctx;return_value_if_fail(win != NULL, RET_BAD_PARAMS);widget_child_on(win, "update", EVT_CLICK, on_update, win);return RET_OK;}
注意:控件的名称一定要和 home_page.xml 保持一致。
3. 在 AWTK Designer 中,执行“打包” “编译” “模拟运行”


https://github.com/zlgopen/awtk/blob/master/docs/build_config.md
这里给出一个例子,可以在此基础上进行修改,该文件位于:
{"name": "AwtkApplicationCHttp","version": "1.0","assets": "res/assets","vendor": "zlgopen","app_name": "org.zlgopen.AwtkApplicationCHttp","copyright": "Guangzhou ZHIYUAN Electronics Co.,Ltd.","themes":["default"],"sources": ["src/*.c","src/common/*.c","src/pages/*.c","src/*.h","src/common/*.h","src/pages/*.h"],"web": {"app_type": "c","assets": "design","config": {"fontScale": "0.8","defaultFont": "sans"}}
./build_win32.sh examples/AwtkApplicationCHttp/build.json release./build_linux.sh examples/AwtkApplicationCHttp/build.json release./build_mac.sh examples/AwtkApplicationCHttp/build.json release请根据应用程序所在目录,修改配置文件的路径。
./start_web.shstart_web_debug.sh3. 用浏览器打开 URL:http://localhost:8080/AwtkApplicationCHttp

点击 “更新” 按钮,可以看到数据更新。


