| https://blog.csdn.net/qq_40181592/article/details/119176805 |
TFT显示动态图片:
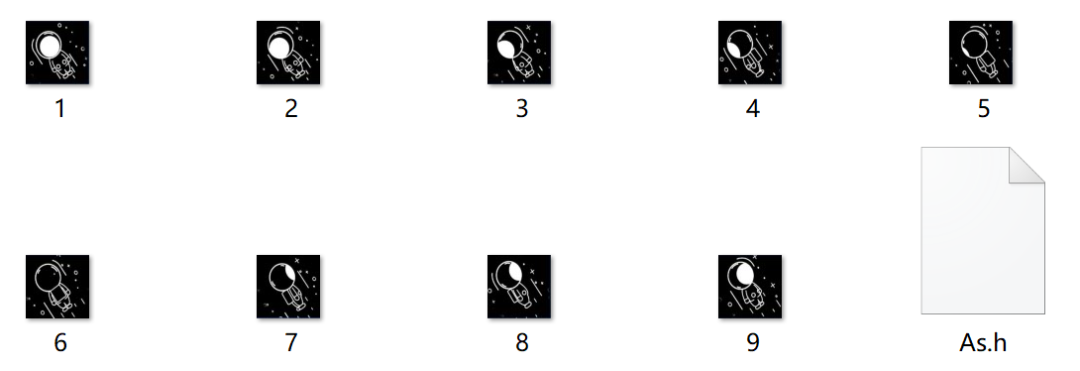
//每一帧太空人的照片,一共九帧const uint16_t astronaut1[0x1000] PROGMEM ={0x0000, 0x0000, 0x0000, 0x0000, 0x0000, 0x0000, 0x0000, 0x0000, 0x0000,0x0000, 0x0000, 0x0000, 0x0000, 0x0000, 0x0000, 0x0000, // 0x0010 (16)0x0000, 0x0000, 0x0000, 0x0000, 0x0000, 0x0000, 0x0000, 0x0000, 0x0000,0x0000, 0x0000, 0x0000, 0x0000, 0x0000, 0x0000, 0x0000, // 0x0020 (32)...0x0000, 0x0000, 0x0000, 0x0000, 0x0000, 0x0000, 0x0000}const uint16_t astronaut2[0x1000] PROGMEM ={...};const uint16_t astronaut3[0x1000] PROGMEM ={...};const uint16_t astronaut4[0x1000] PROGMEM ={...};const uint16_t astronaut5[0x1000] PROGMEM ={...};const uint16_t astronaut6[0x1000] PROGMEM ={...};const uint16_t astronaut7[0x1000] PROGMEM ={...};const uint16_t astronaut8[0x1000] PROGMEM ={...};const uint16_t astronaut9[0x1000] PROGMEM ={...};//定义太空人照片的指针数组const uint16_t* Astronaut [] PROGMEM ={astronaut1,astronaut2,astronaut3,astronaut4,astronaut5,astronaut6,astronaut7,astronaut8,astronaut9};
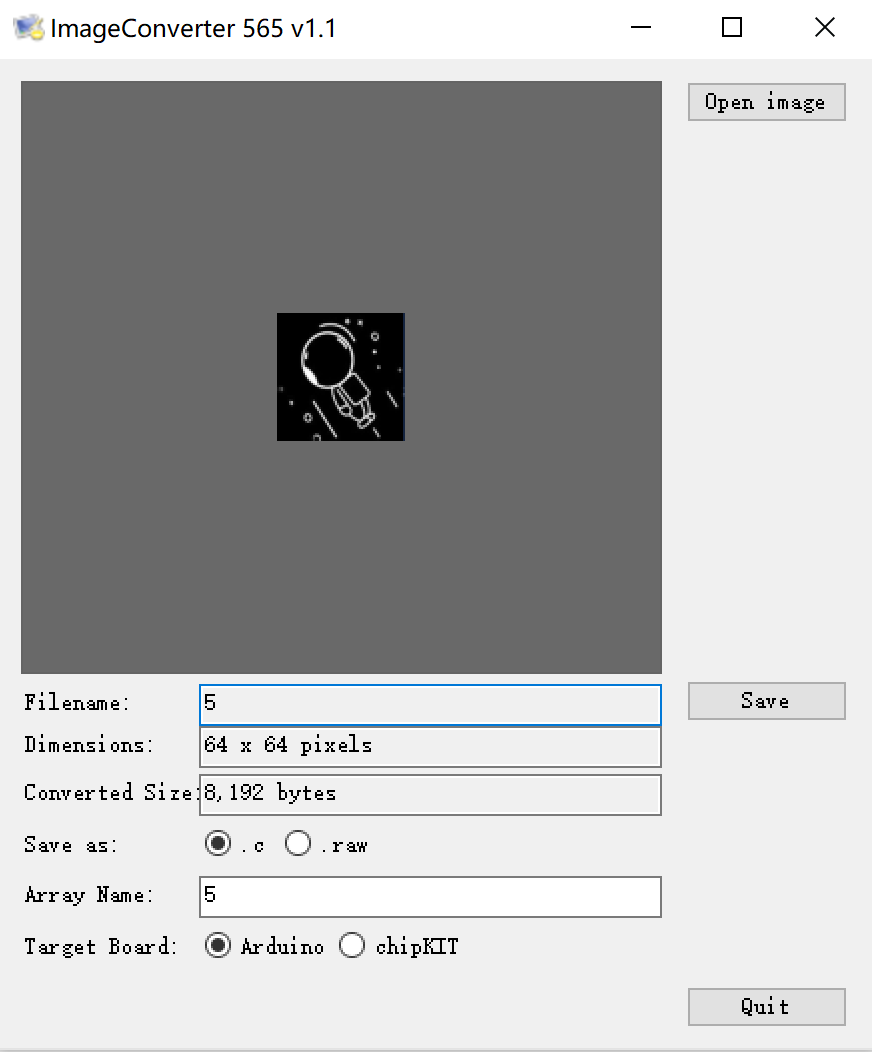
图片取模方法:打开图片取模软件ImageConverter565.exe,Open image选择要转换的图片文件,可以看到像素大小,选择Arduino,保存为.c文件。


打开保存好的图片.C文件,将转换后的数据填写到上面的pic.h中。

#include//导入库 #include#include "./Astronaut/As.h"TFT_eSPI tft = TFT_eSPI();int i = 0;void setup() {// put your setup code here, to run once:tft.init(); //初始化tft.fillScreen(TFT_BLACK); //屏幕颜色}void loop(){tft.setSwapBytes(true); //使图片颜色由RGB->BGRtft.pushImage(30, 30, 64, 64, Astronaut[i]);delay(100); //延时i+=1; //下一帧if(i>8){i=0;}}
pool.ntp.org # 国外的NTP服务器,国内地址为:cn.pool.ntp.orgntp.aliyun.com # 阿里云time1.cloud.tencent.com # 腾讯time.google.com # 谷歌ntp.tuna.tsinghua.edu.cn # 清华大学ntp.sjtu.edu.cn # 上海交通大学ntp.fudan.edu.cn # 复旦大学
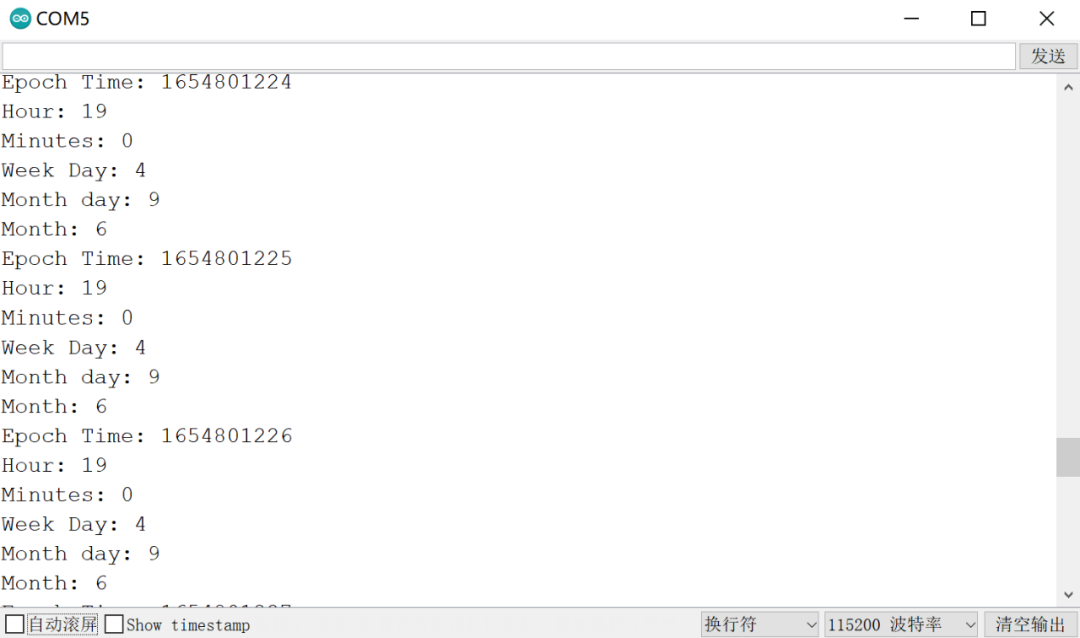
const char *ssid = "********"; //wifi账号const char *password = "********"; //wifi密码WiFiUDP ntpUDP;NTPClient timeClient(ntpUDP,"ntp.aliyun.com"); //NTP服务器地址void setup(){Serial.begin(115200);//连接wifiWiFi.begin(ssid, password);while ( WiFi.status()!= WL_CONNECTED ) {delay (500);Serial.print (".");}timeClient.begin();timeClient.setTimeOffset(28800); // + 1区 偏移3600, +8区 :3600×8 =28800//我们所处的位置是东8区,所以要与东8区时间同步}void loop() {timeClient.update();unsigned long epochTime = timeClient.getEpochTime();Serial.print("Epoch Time: ");Serial.println(epochTime);//打印时间int currentHour = timeClient.getHours();Serial.print("Hour: ");Serial.println(currentHour);int currentMinute = timeClient.getMinutes();Serial.print("Minutes: ");Serial.println(currentMinute);int weekDay = timeClient.getDay();Serial.print("Week Day: ");Serial.println(weekDay);//将epochTime换算成年月日struct tm *ptm = gmtime ((time_t *)&epochTime);int monthDay = ptm->tm_mday;Serial.print("Month day: ");Serial.println(monthDay);int currentMonth = ptm->tm_mon+1;Serial.print("Month: ");Serial.println(currentMonth);delay(1000);tft.setCursor(40, 50, 2); //设置起始坐标(10, 80),2 号字体tft.println(currentHour); //显示文字tft.setCursor(60, 50, 2); //设置起始坐标(10, 80),2 号字体tft.println(":"); //显示文字tft.setCursor(70, 50, 2); //设置起始坐标(10, 80),2 号字体tft.println(currentMinute); //显示文字}
