微信公众号:OpenCV学堂
关注获取更多计算机视觉与深度学习知识
引子

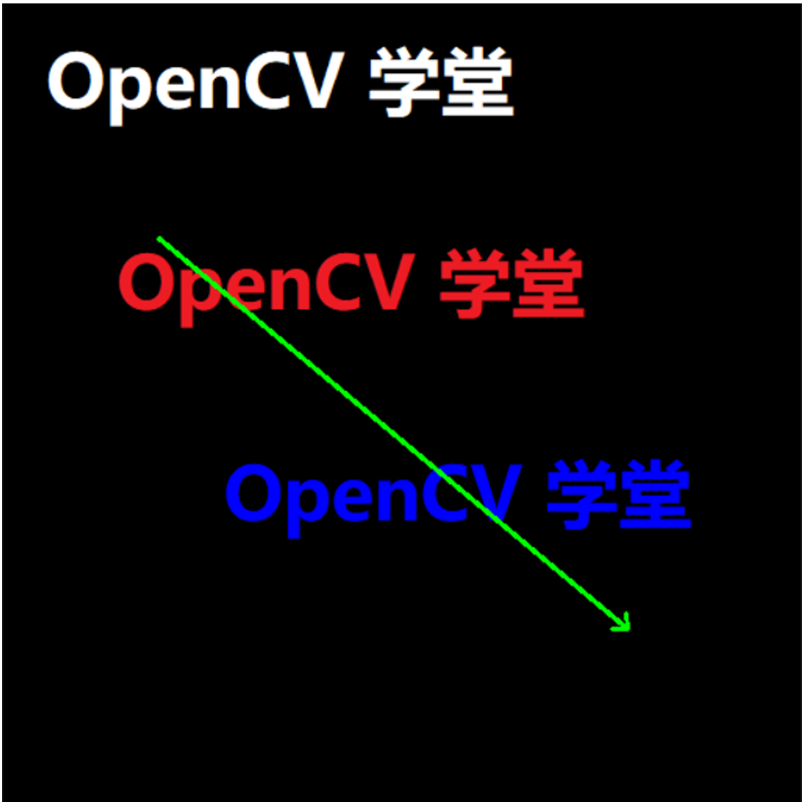
手动版实现带箭头的线段绘制
import math

import cv2 as cv
import numpy as np

image = cv.imread("D:/images/1024_mask.png")
length = 10
angle = 45
l1 = length * np.cos(angle * np.pi / 180)
l2 = length * np.sin(angle * np.pi / 180)
p1 = (100, 150)
p2 = (400, 400)
p3 = (0., 0.)
pt4 = (0., 0.)

# i,j代表p2、p3、p4相对于p0的正负
if p2[0] > p1[0]:
    i = 1
else:
    i = -1

if p2[1] > p1[1]:
    j = 1
else:
    j = -1

# 直线p1p2相对于x轴的角度,取正值
a1 = abs(math.atan((p2[1] - p1[1]) / (p2[0] - p1[0])))

# 用于计算p2相对于p0的宽高
w1 = l1 * math.cos(a1)
h1 = l1 * math.sin(a1)
p0 = (p2[0] - w1 * i, p2[1] - h1 * j);

# 直线p3p4相对于x轴的角度
a2 = 90 * np.pi / 180 - a1;
w2 = l2 * np.cos(a2)

# 用于计算p3和p4相对于p0的宽高
h2 = l2 * np.sin(a2)
p3 = (int(p0[0] - w2 * i), int(p0[1] + h2 * j))
p4 = (int(p0[0] + w2 * i), int(p0[1] - h2 * j))
cv.line(image, p1, p2, (0, 255, 0), 2, 8, 0)

# 画箭头
cv.line(image, p2, p3, (0, 255, 0), 2, 8, 0)
cv.line(image, p2, p4, (0, 255, 0), 2, 8, 0)
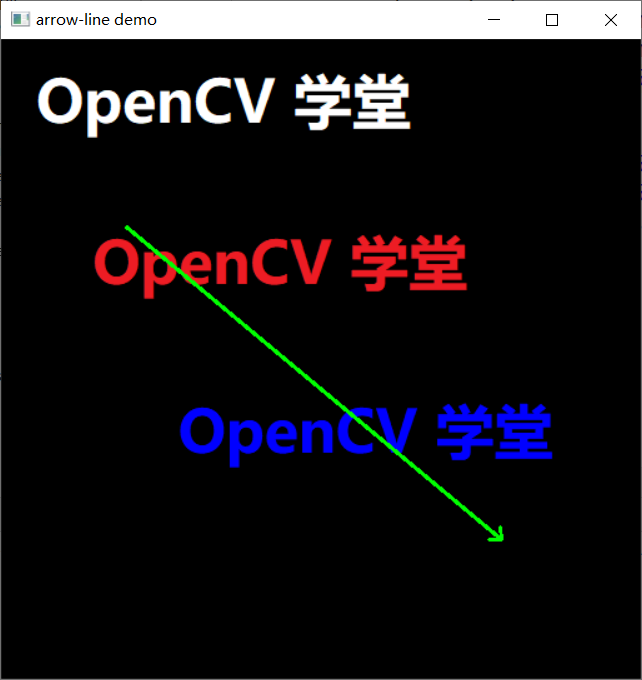
cv.imshow("arrow-line demo", image)
cv.waitKey(0)
cv.destroyAllWindows()
其实没那么复杂
void cv::arrowedLine(
    InputOutputArray img, # 输入图像
    Point pt1, # 线段端点
    Point pt2,
    const Scalar &  color, # 颜色
    int thickness = 1, # 线宽
    int line_type = 8, # 渲染类型
    int shift = 0,
    double tipLength = 0.1
)import cv2 as cv
image = cv.imread("D:/images/1024_mask.png")
cv.arrowedLine(image, (100, 150), (400, 400), (0, 255, 0), 2, 8, 0, 0.05)
cv.imshow("arrow-line demo", image)
cv.waitKey(0)
cv.destroyAllWindows()扫码查看OpenCV+OpenVIO+Pytorch系统化学习路线图

推荐阅读
CV全栈开发者说 - 从传统算法到深度学习怎么修炼
2022入坑深度学习,我选择Pytorch框架!
Pytorch轻松实现经典视觉任务
教程推荐 | Pytorch框架CV开发-从入门到实战
OpenCV4 C++学习 必备基础语法知识三
OpenCV4 C++学习 必备基础语法知识二
OpenCV4.5.4 人脸检测+五点landmark新功能测试
OpenCV4.5.4人脸识别详解与代码演示
OpenCV二值图象分析之Blob分析找圆
OpenCV4.5.x DNN + YOLOv5 C++推理
OpenCV4.5.4 直接支持YOLOv5 6.1版本模型推理
OpenVINO2021.4+YOLOX目标检测模型部署测试
比YOLOv5还厉害的YOLOX来了,官方支持OpenVINO推理
